Resources
Why Split MIDI Drum Tracks?
Separating your MIDI drum tracks allows you to apply different effects to individual drum elements, such as a kick or snare. This technique is especially useful if you want to sidechain your bass to your kick or isolate specific drum sounds for precise mixing and editing.
Setting Up the Tracks
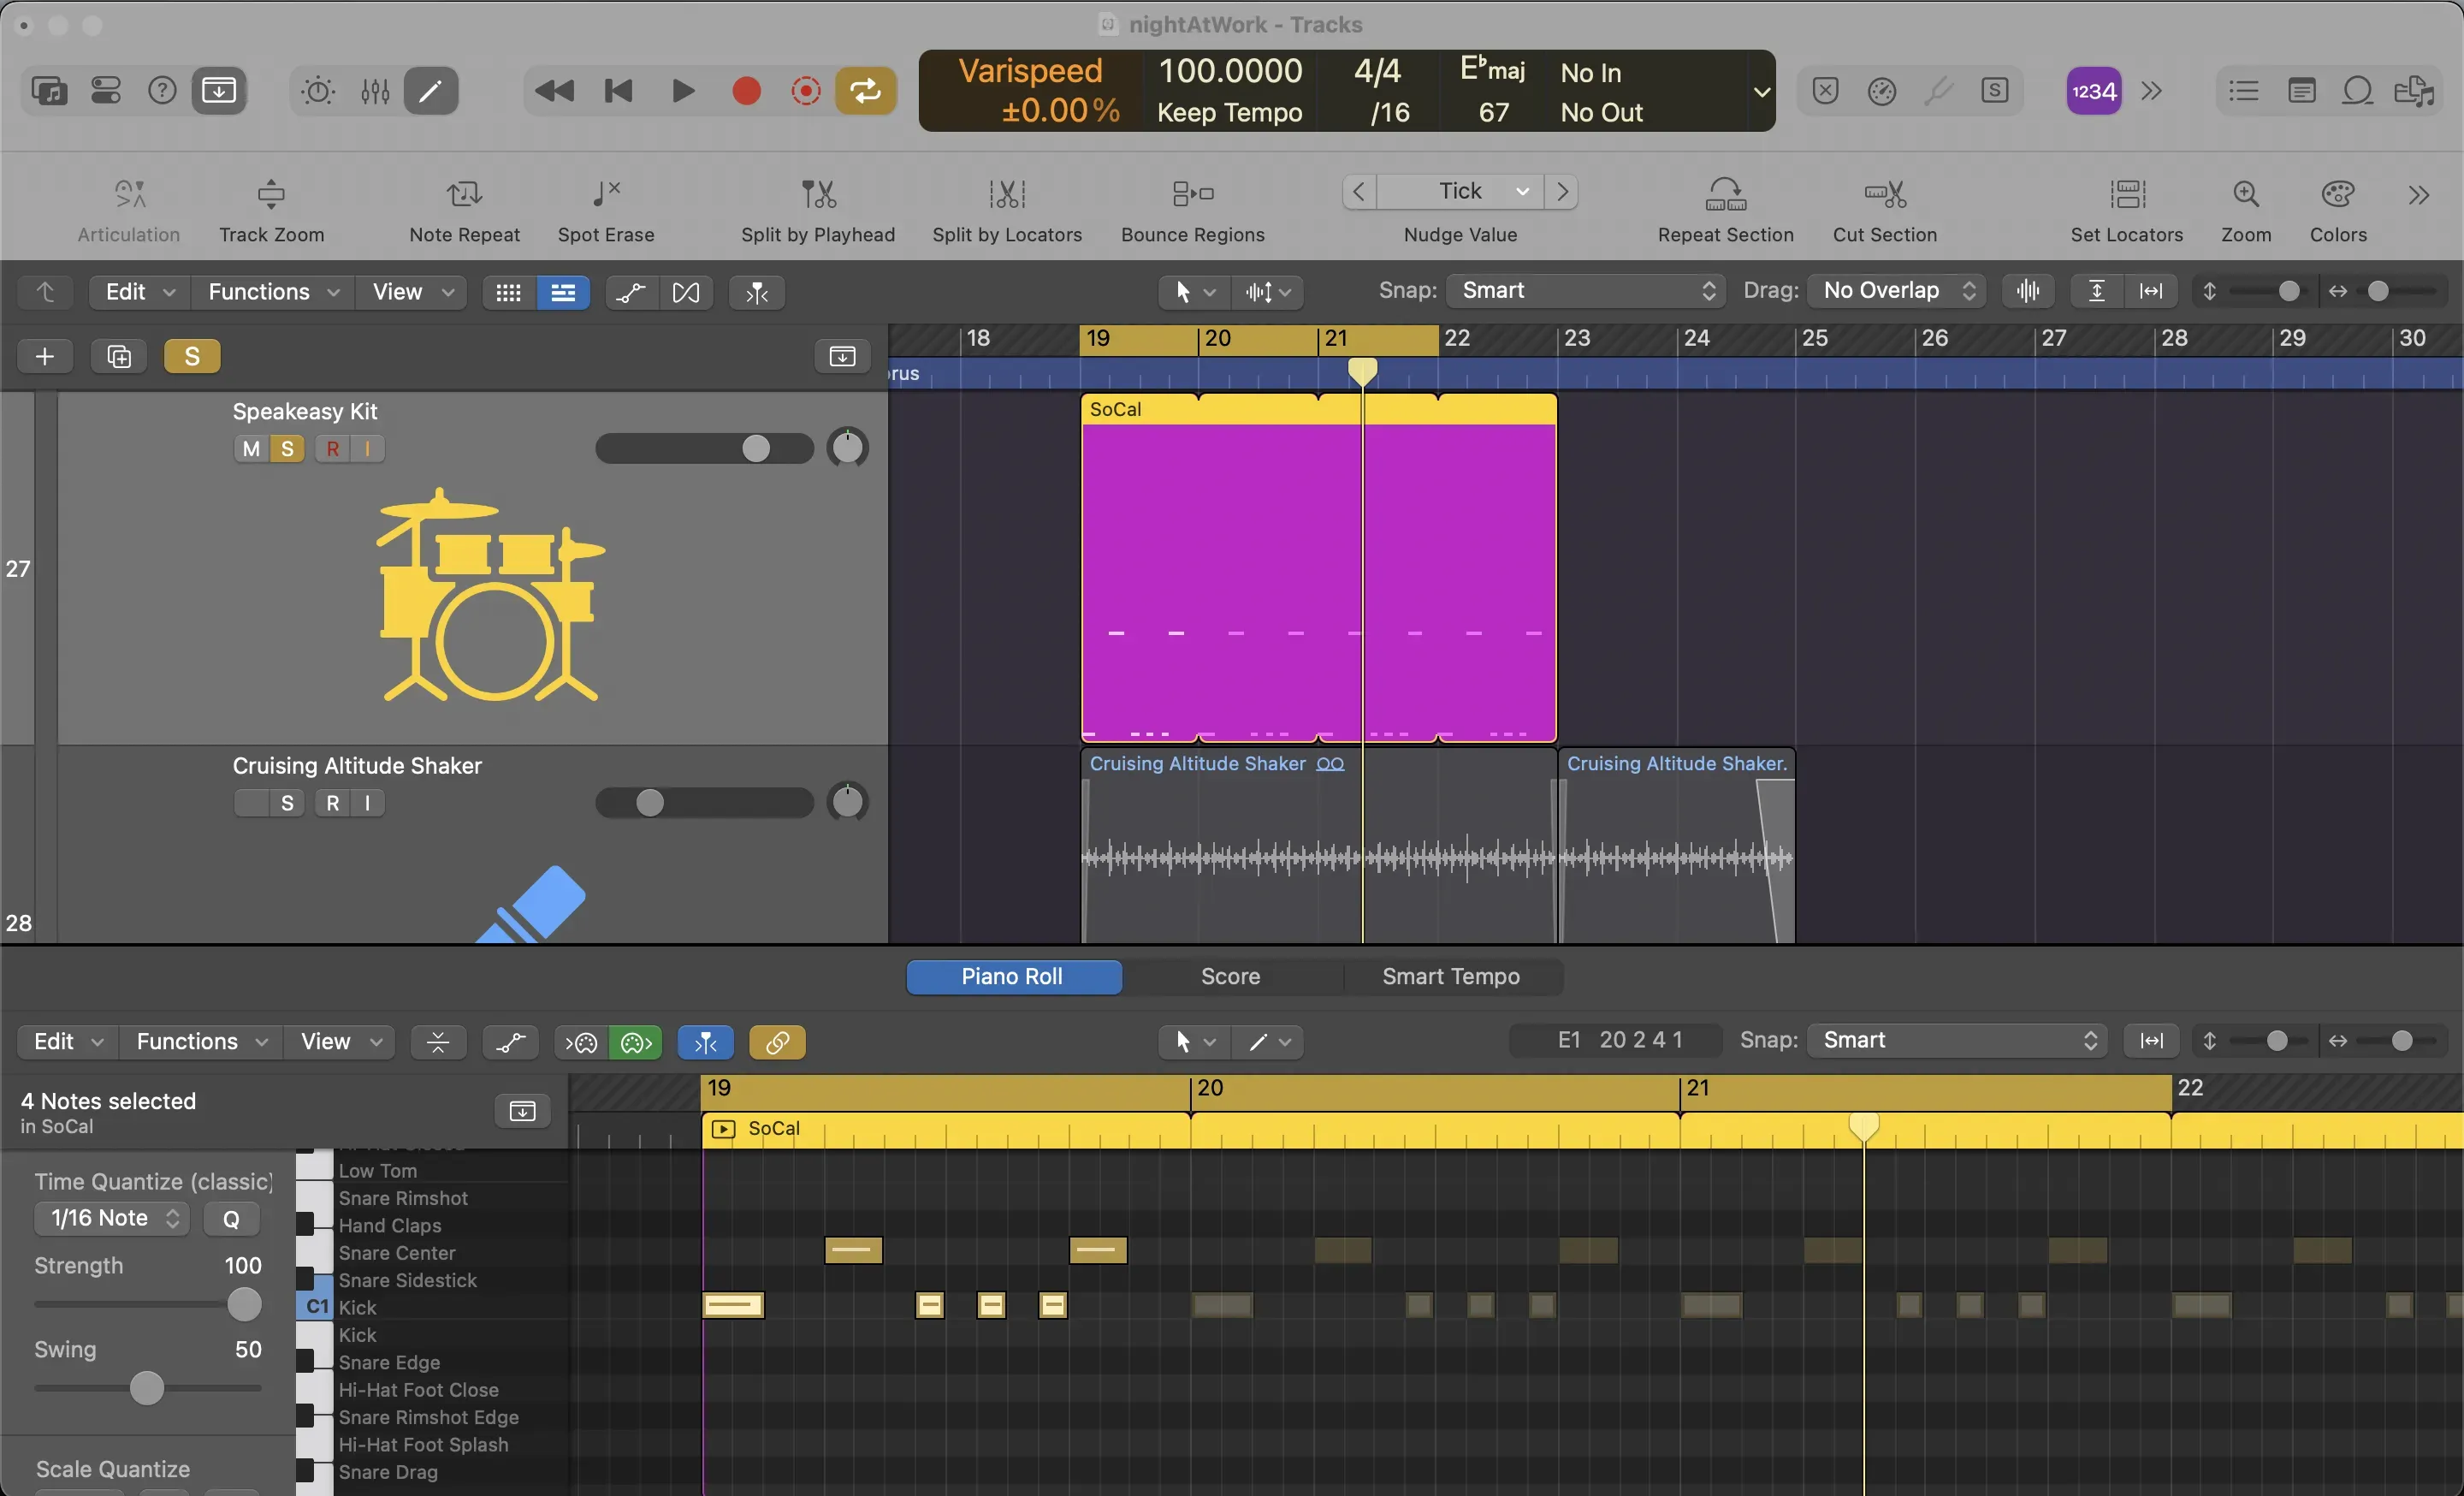
Let’s start with a MIDI drum track containing two drum elements: a kick and a snare. Here’s an example pattern:
- A kick on the first beat
- A snare on the second beat
- Three eighth-note kicks
- A snare on the final beat
Here’s what the original MIDI looks like:

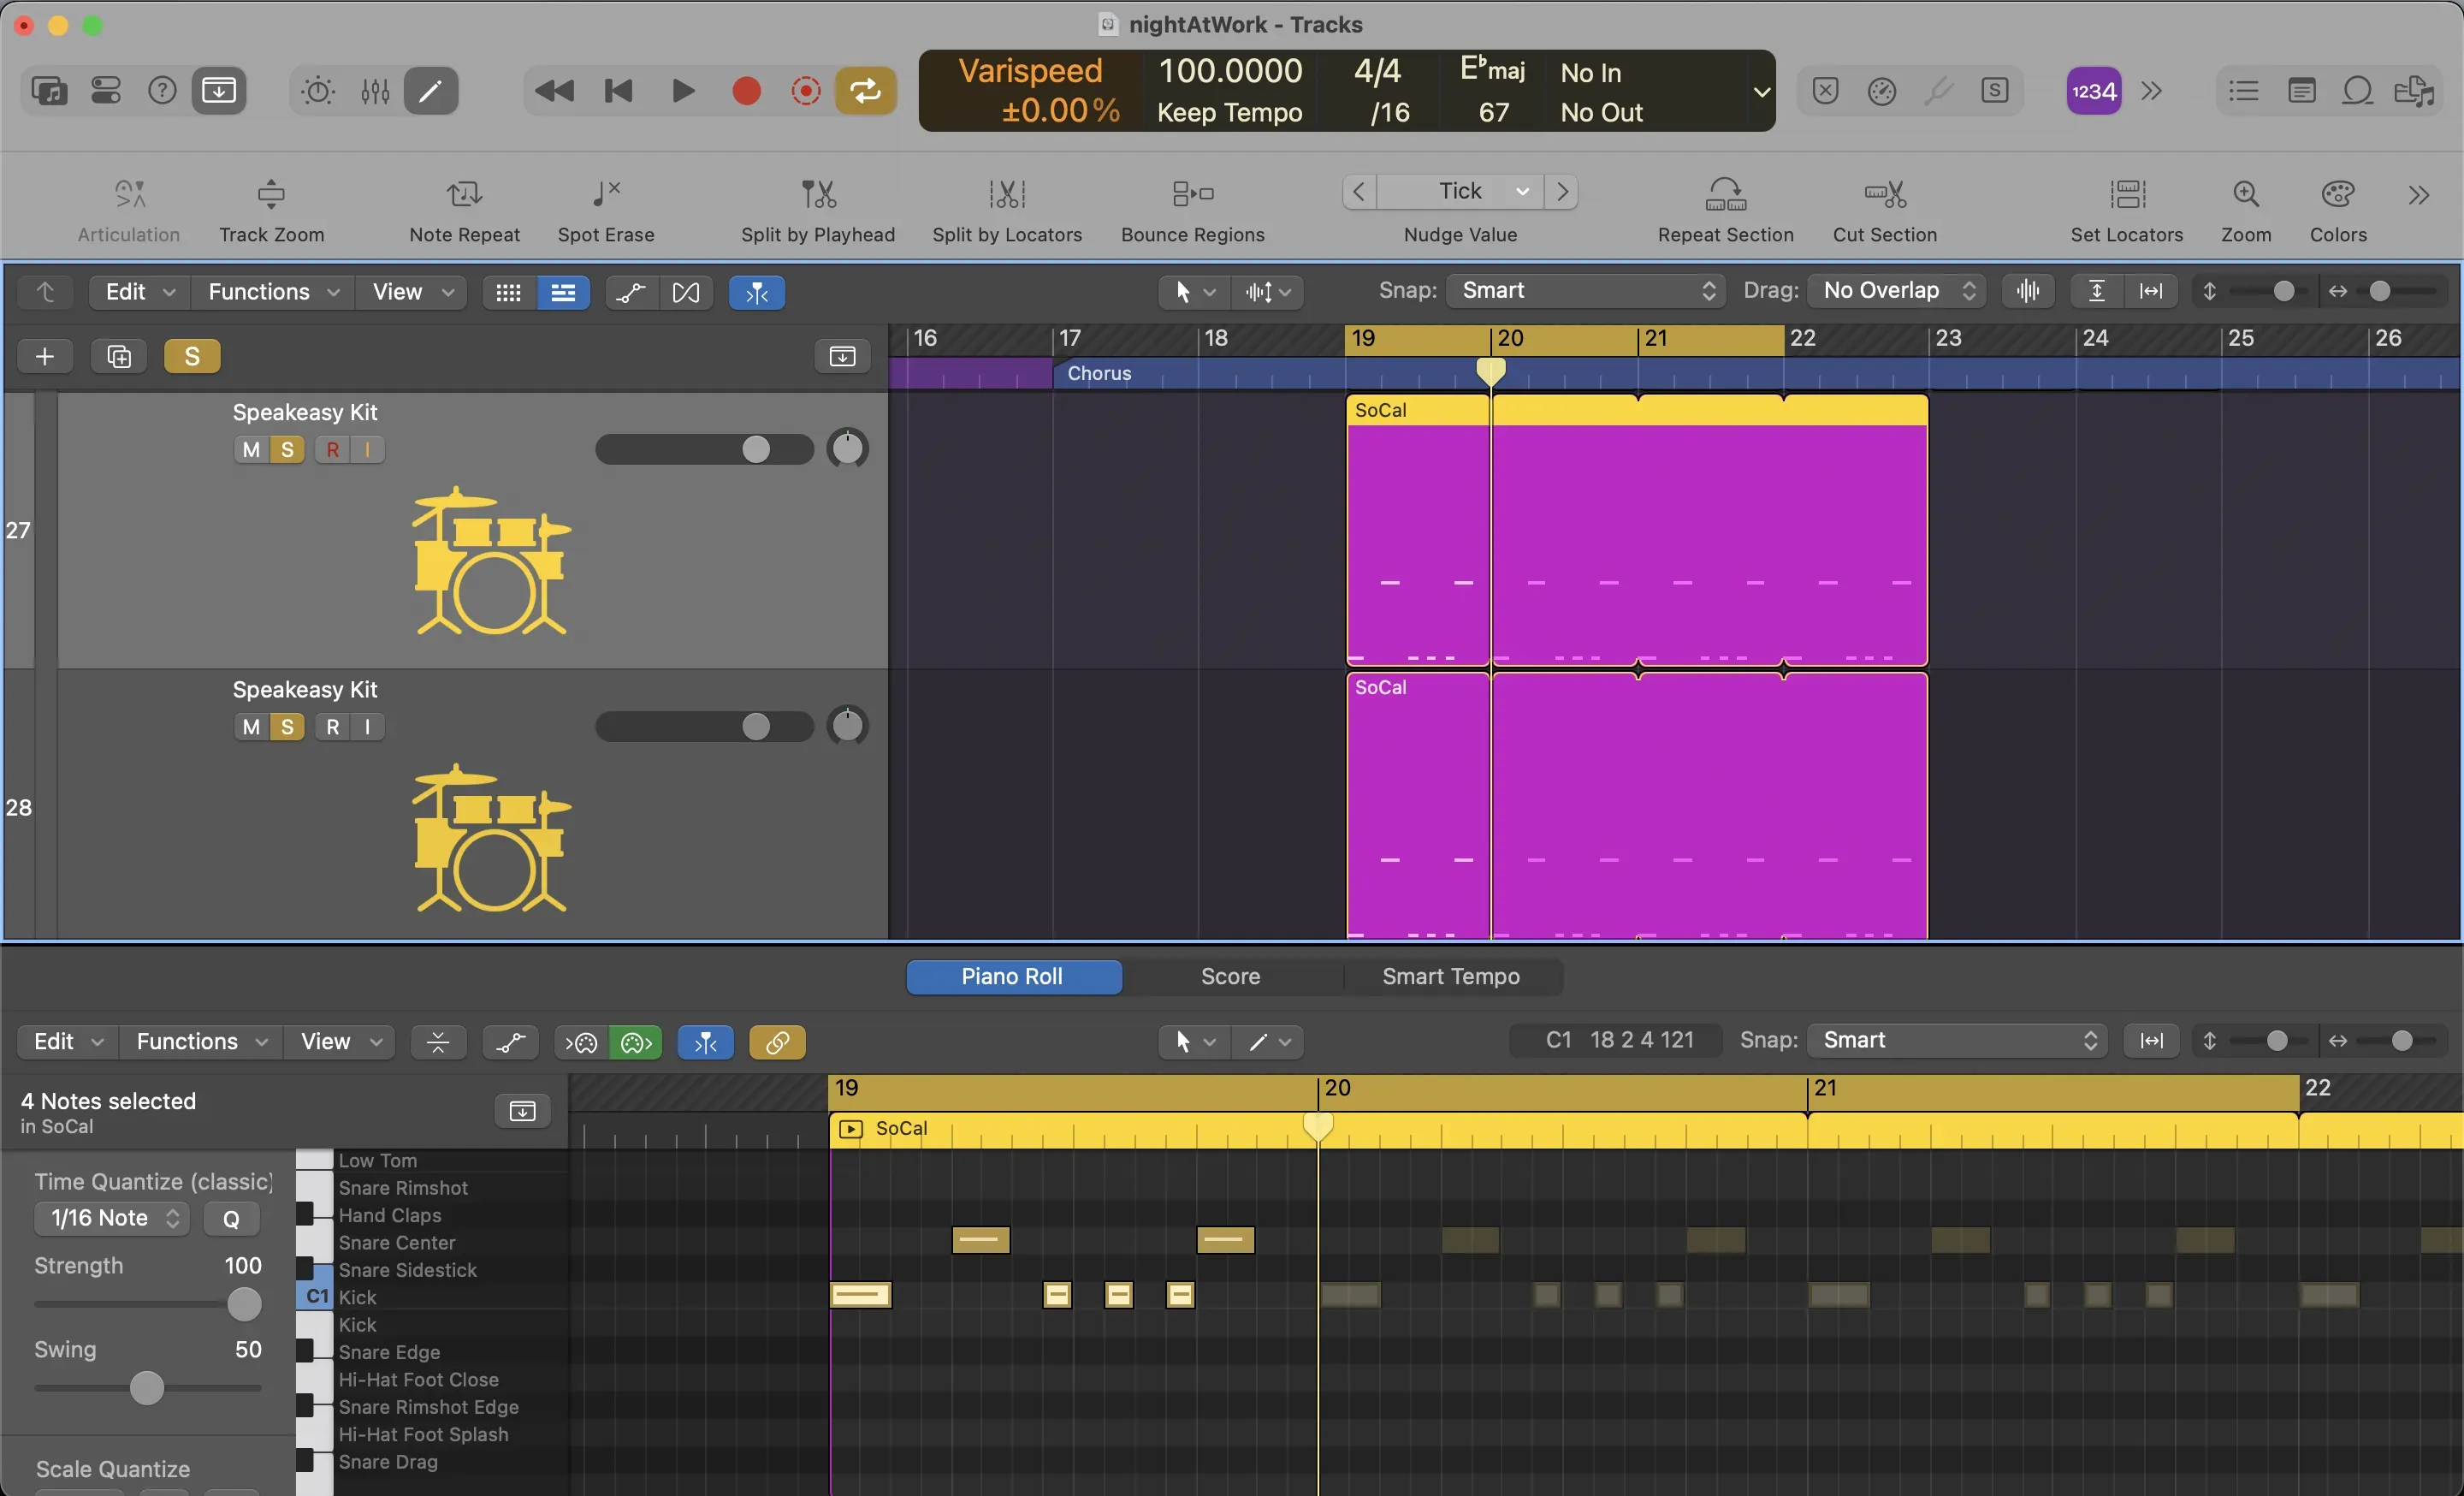
To split these elements, we’ll need an additional track. Follow these steps:
- Select your drum track in the project.
- Press
cmd+dto duplicate the track. - Use
option+ drag to copy the MIDI region to the new track.
Now you have two identical tracks ready to be edited separately.
Isolating Drum Elements
The goal is to have one track with just the kick and another with just the snare. Here’s how to do it:
- Open the MIDI editor for the original track.
- Select all the kick notes by clicking the corresponding key on the piano roll:

- Invert the selection by pressing
shift+i. This will select all notes except the kick. - Press
deleteto remove the selected notes. Now, only the kick notes remain on the track.
Repeat the process for the snare on the duplicated track:
- Open the MIDI editor for the duplicate.
- Select all the snare notes by clicking their corresponding key.
- Invert the selection (
shift+i) and delete the remaining notes.
Wrapping Up
That’s it! You now have separate tracks for your kick and snare. This setup makes it easy to apply effects, adjust levels, or set up sidechain compression for your bass. Rinse and repeat for any additional drum elements, and you’re ready to rock and roll.